I became very interested in how a raycasting (not to be confused with raytracing) game engine works. To properly understand how it works, I implemented it from scratch, including deriving the mathematics behind it. The end result, which uses the engine in a very simple and crude game, is available on my GitHub.
I wanted to capture my journey in a tutorial-style series. The tutorial will be split into multiple parts, with the list available on the project page.
Introduction
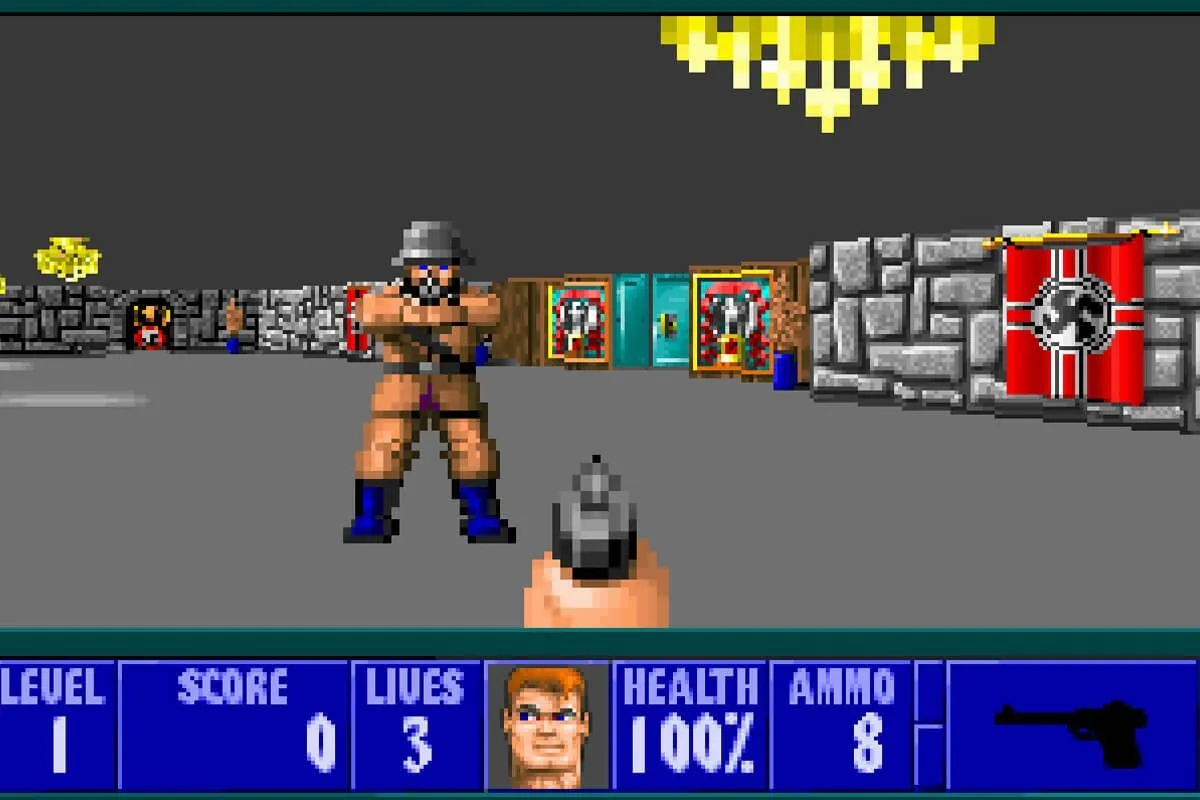
Let’s start at the beginning: what is raycasting? Raycasting is a technique to render a 2D map as if it were a 3D space. It was used in early 3D games like Wolfenstein 3D. The basic idea behind it is that you have tiles on a 2D map. Each tile can be either a wall or empty. The camera can only rotate horizontally (like in Wolfenstein 3D).
This means that you compute a whole column of pixels at once. On top of walls, floor, and ceiling you then render some sprites which can represent items, enemies, etc. In this first part we’ll take a look at how to render the walls.
Prerequisites
Code examples are in zig because that’s what I’ve written my engine in and I don’t want to port everything. Most of the
code examples are using just for loops, if statements and computation with numbers, so the language doesn’t really matter.
I assume there is a global screen variable, which is an array of pixels. Drawing to the screen is done by setting
the values in screen. My implementation looks like this.
pub var screen: [WIDTH * HEIGHT * 4]u8 = undefined;

pub fn draw_pixel(x: usize, y: usize, color: Color) void {
    const idx: usize = (y * WIDTH + x) * 4;
    screen[idx] = color.red;
    screen[idx + 1] = color.green;
    screen[idx + 2] = color.blue;
    screen[idx + 3] = color.alpha;
}
Code that calls the render function is then responsible for getting the pixel to be rendered on the
computer display. This could be done with something like raylib, SDL,
or, in my case, HTML canvas. But that deserves its own post, because it includes compiling to WebAssembly, embedding assets
directly into the WebAssembly binary, sharing canvas pixels, etc.
At the beginning I mentioned that I plan to derive all the math behind raycasting. To understand that, you’ll need a basic understanding of vectors, dot products and cross products. Also, basic knowledge of trigonometric functions doesn’t hurt.
General Idea
For each on the screen we calculate the distance between the camera and the nearest wall. That distance can be used to calculate how high the wall should appear on the screen. We then draw that many pixels in the column as the wall color, and move on to the next column.
Using the distance to calculate the height of the wall is pretty obvious, but I’ll spell it out anyway. If it’s too obvious for you, go directly to the next chapter.
In the figure above we have the following quantities:
- - height of the wall. This is a constant we know.
- - height of rendered wall. This is what we want to calculate.
- - distance between the camera and the wall. This is what we’ll measure.
- - distance between the camera and the screen. This is a property of the camera we know (similar to FOV).
If you look closely, you’ll notice that we have two similar triangles, which means that the following holds.
We can simplify this further by setting and get .
Computing Distance to The Wall
To compute the distance between a player and the nearest wall, we have to cast a ray from the player in the direction of the on the screen. Then we can move along the direction of the ray until we hit a wall. For that we need to know how to:
- Convert on the screen into a ray (which is geometrically speaking just a line).
- Move along the ray until we hit a wall.
Constructing the Ray
We can store the position of the player on the map as their position and rotation angle .
The reason for choosing angle to be the direction of the axis is that we can easily calculate the vector that represents the player direction as
A nice property that has, is that it’s normalized. That’s a surprise tool that can help us later!
We’ll calculate the vector that represents the camera plane by rotating the direction vector by in the positive (counter clockwise) direction. Classic equation to do so is
The following figure shows how direction and camera vectors are related.
We’ll define our plane to be from to . So for the ray vector is and for the ray vector is . This can be achieved by a simple linear mapping, which (finally) brings us to a code snippet.
// Constant that affects the FOV
const CAMERA_WIDTH = 1.0;

// screen_width is width of screen in pixels
const camera_factor = CAMERA_WIDTH * (1.0 - 2.0 * x / screen_width);
const camera_point = camera_plane.scalar_mul(camera_factor);
const ray = camera_direction.add(&camera_point);
Let’s start implementing a stub for render_walls. This is the main function responsible for rendering the walls.
fn render_walls(game: *const Game, camera: Camera) void {
    const player_idx = Vec(i32){
        .x = @intFromFloat(game.player_pos.x),
        .y = @intFromFloat(game.player_pos.y),
    };
    const player_rem = Vec(f32){
        .x = fraction(game.player_pos.x),
        .y = fraction(game.player_pos.y),
    };

    var x: usize = 0;
    while (x < screen.width) : (x += 1) {
        const width_ratio = @as(f32, @floatFromInt(x)) / @as(f32, @floatFromInt(screen.width));
        const camera_factor = CAMERA_WIDTH * (1.0 - 2.0 * width_ratio);
        const camera_point = camera.plane.scalar_mul(camera_factor);
        const ray = camera.direction.add(&camera_point);

        var tile_idx = player_idx; // Index of tile we are on.
        var tile_rem = player_rem; // Position inside the tile.

        const ray_direction = Vec(f32){
            .x = std.math.sign(ray.x),
            .y = std.math.sign(ray.y),
        };

        // TODO: Calculate where ray hits the wall and render the wall
        // ...
    }
}
Hitting a Wall
The naive way of finding where the ray hits the wall is to move along the ray in constant steps. The problem with such an approach is that even when choosing a very small step there is still a possibility that we miss the wall.
What we’ll do instead, is take advantage of the fact that walls are always aligned to the grid. Because of this, we can adjust the step size dynamically and move only from square to square.
To make the calculations easier, we’ll first split the current coordinates vector into two vectors; one () for tracking the index of the tile we’re in, and one () for tracking the position inside the tile. So instead of having a position vector , we have a tile index vector and position inside the tile vector .
With the position vector split into two vectors, the basic outline of the algorithm for moving to the next tile is
- Calculate the step needed to move to the next horizontal and vertical tile.
- Pick the smaller of the steps.
- Move vectors and .
- Clear vector . For step 1, our function will assume that . After moving to the next tile we have to update or (depending on the move direction).
- Check if we hit the wall. If we did, we can move on to drawing the wall; otherwise we repeat the steps.
To derive the equations for calculating the step needed to move to the next tile, we’ll look only at the case for coordinate. The case for the coordinate is analogous.
We can parameterize moving along the ray vector as
Because we’re starting at , we’ll hit the next tile when or , depending on the direction we’re moving in. If we’re moving to the right (), we’re interested in for which . That is
For , the derivation is similar. We can now write an auxiliary function that calculates the step parameter needed to move to the next tile.
/// Auxiliary function to calculate the step factor for moving to the next tile.
/// Given tile_rem.x and ray.x it returns s, so that s * ray
/// moves to the next horizontal tile. Similarly given tile_rem.y and ray.y it
/// returns s, so that s * ray moves to the next vertical tile.
fn get_step_factor(tile_rem_comp: f32, ray_comp: f32) f32 {
    if (ray_comp < 0.0) {
        return -tile_rem_comp / ray_comp;
    } else if (ray_comp > 0.0) {
        return (1.0 - tile_rem_comp) / ray_comp;
    } else {
        return std.math.inf(f32);
    }
}
We now know how to perform step 1. Steps 2 and 3 are pretty self-explanatory and don’t need additional explanations. Before writing the main part of the wall rendering function, I do feel that step 4 deserves some additional explanation.
In get_step_factor we assume that for vector , holds. After we adjust the position
vector, we have to reset it to the correct position. If we moved horizontally in the positive direction, then .
We then have to set it to . If we moved horizontally in the negative direction, then and we have to
set it to (technically , but our algorithm handles just fine). For moving in the vertical
direction, the approach is analogous.
With all of these equations and words out of the way, we can write some code. In fact, we can write quite a large
chunk of render_walls.
fn render_walls(game: *const Game, camera: Camera) void {
    // Snip...

    while (x < screen.width) : (x += 1) {
        // Snip...

        var hit = false;

        // Make sure to not take too many steps.
        for (0..100) |_| {
            // Calculate step factors for moving to the next horizontal/vertical tile.
            const step_factor_x = get_step_factor(tile_rem.x, ray.x);
            const step_factor_y = get_step_factor(tile_rem.y, ray.y);

            var step_factor: f32 = undefined;
            var tile_step: Vec(f32) = undefined;
            if (step_factor_x < step_factor_y) {
                // Move to the next tile in horizontal direction
                step_factor = step_factor_x;
                tile_step = .{ .x = ray_direction.x, .y = 0.0 };
            } else {
                // Move to the next tile in vertical direction
                step_factor = step_factor_y;
                tile_step = .{ .x = 0.0, .y = ray_direction.y };
            }

            // Update tile coordinates.
            tile_idx.x += @intFromFloat(tile_step.x);
            tile_idx.y += @intFromFloat(tile_step.y);

            // Update the tile remainder (step 4 from the discussion above).
            // This is done with: -tile_step
            tile_rem = tile_rem.add(&ray.scalar_mul(step_factor).sub(&tile_step));

            // Check if we hit a wall.
            const tile = game.level.get_tile(@intCast(tile_idx.x), @intCast(tile_idx.y));
            if (tile != null) {
                hit = true;
                break;
            }
        }

        // Check that we hit a wall.
        if (!hit) {
            continue;
        }

        // TODO: Calculate the distance from camera and draw the wall
        // ...
    }
}
Calculating the Distance
To calculate the distance between the player and the position where the ray hit the wall, we first need to join the tile index vector and remainder vector into a single position vector. We can just sum them up!
const collision = Vec(f32){
    .x = @as(f32, @floatFromInt(tile_idx.x)) + tile_rem.x,
    .y = @as(f32, @floatFromInt(tile_idx.y)) + tile_rem.y,
};
Now we have two points on a plane (player position and collision point), so calculating the distance is classic Pythagorean theorem right? Wrong!
The problem is that we are not really interested in the distance between the player and the wall, we are actually interested in the distance between the camera plane and the wall. What’s the difference? The player is just a point while the camera plane is a line. Let’s look at an image of multiple rays from the player to the wall to see why this is important.
The left and right lines are obviously much longer than the middle line. So the walls towards the edges of the screen will be drawn smaller than in the middle of the screen - similar to a fish eye effect. But we are looking at the walls head on, so they should all be drawn at the same size!
Now let’s look at the distances if we use camera plane instead of player location.
All the lines are the same length, just like we want! To calculate this distance, we’ll copy the equation from Wikipedia.
// Calculate distance from camera plane to collision point.
fn distance_from_camera(position: Vec(f32), camera_plane: Vec(f32), point: Vec(f32)) f32 {
    const pos2 = position.add(&camera_plane);

    const numerator = (pos2.y - position.y) * point.x - (pos2.x - position.x) * point.y + pos2.x * position.y - pos2.y * position.x;
    const denum = camera_plane.length();

    return @abs(numerator) / denum;
}
Rendering Walls
For rendering the walls we have to first convert the distance from the wall into height of the wall. For that we’ll use the equation we derived in the General Idea chapter:
where C is a “camera height” constant.
Then we simply draw the column of that height in the center of the -axis. Let’s introduce a function to do this
fn draw_wall_column(x: usize, distance: f32) void {
    // Real height in pixels.
    const real_height = CAMERA_HEIGHT / distance * screen_height;
    // Height capped to screen height (for very close walls).
    const height = @min(@as(usize, @intFromFloat(real_height)), screen.height);

    const start_y = screen.height / 2 - height / 2;
    const end_y = start_y + height;
    for (start_y..end_y) |y| {
        screen.draw_pixel(x, y, Color.new(255, 0, 0));
    }
}
We can now update render_walls to use draw_wall_column.
fn render_walls(game: *const Game, camera: Camera) void {
// Snip ...
while (x < screen.width) : (x += 1) {
// Snip ...
if (!hit) {
continue;
}
const collision = Vec(f32){
.x = @as(f32, @floatFromInt(tile_idx.x)) + tile_rem.x,
.y = @as(f32, @floatFromInt(tile_idx.y)) + tile_rem.y,
};
const distance = distance_from_camera(game.player_pos, camera.plane, collision);
draw_wall_column(x, distance);
}
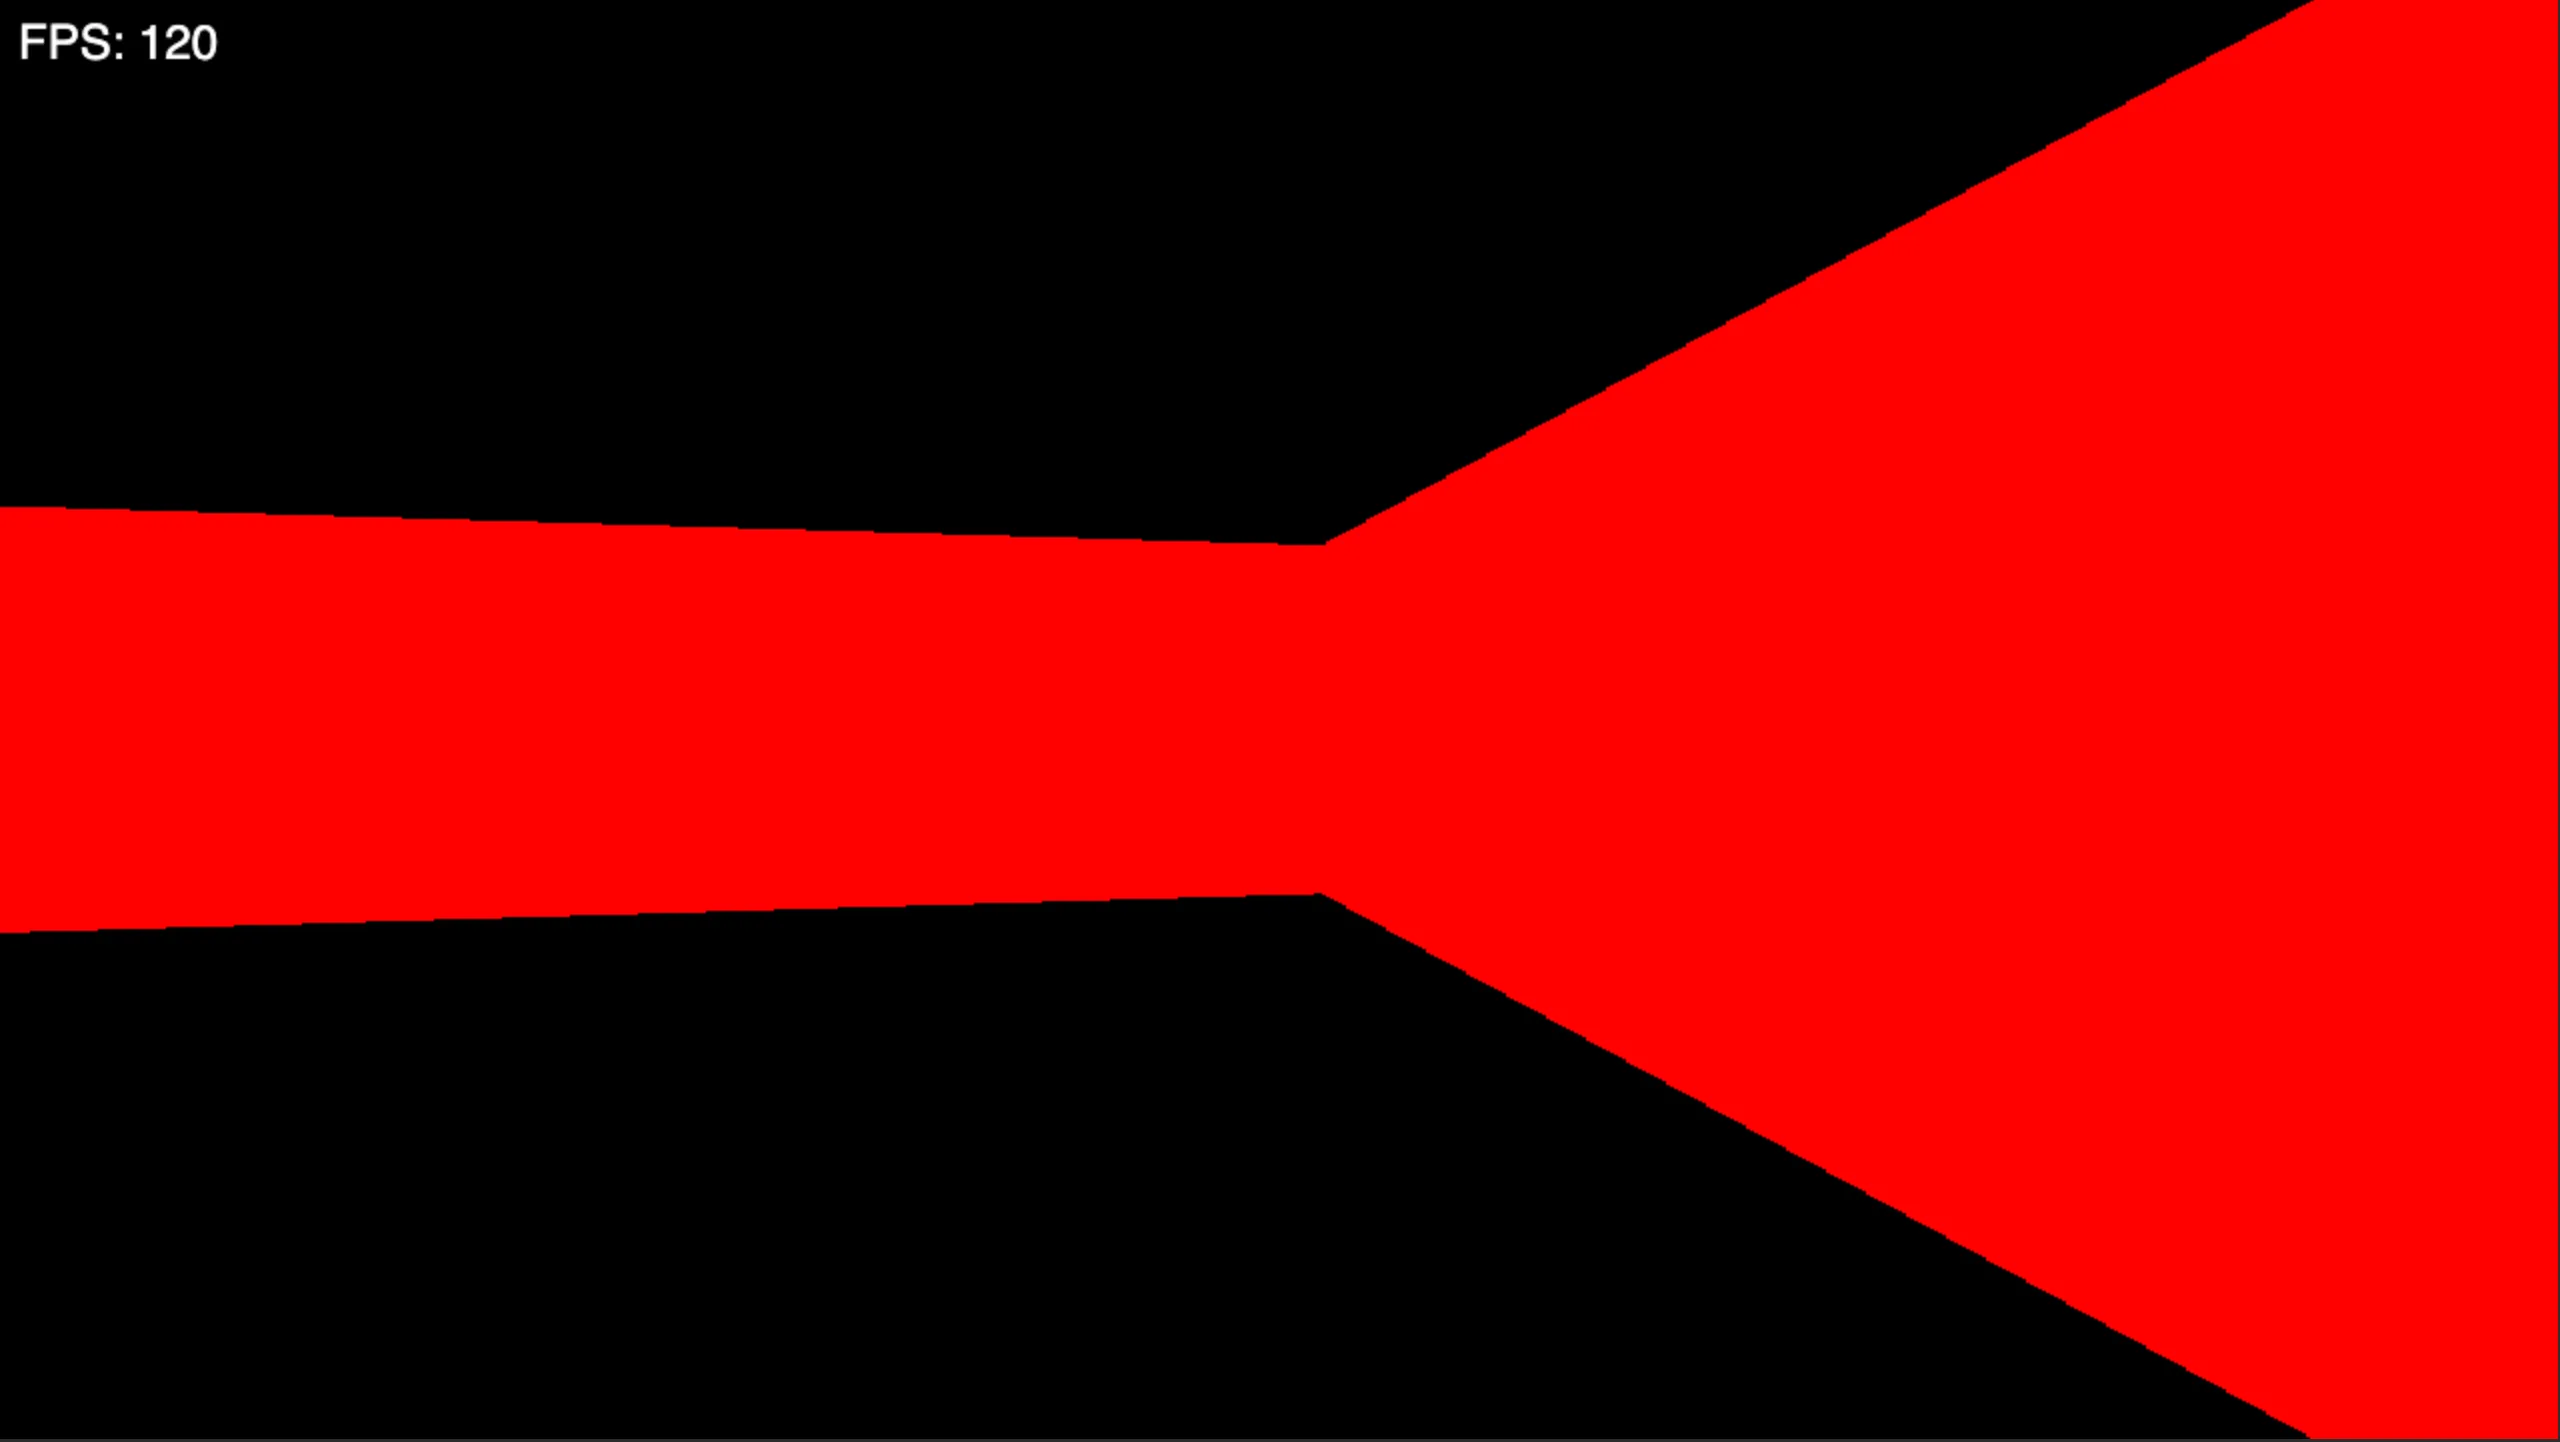
}With all of that work done, we can now render very basic walls.
Shadows
Let me immediately dial down your expectations: we’re not actually implementing shadows, I just don’t know what else to call it…
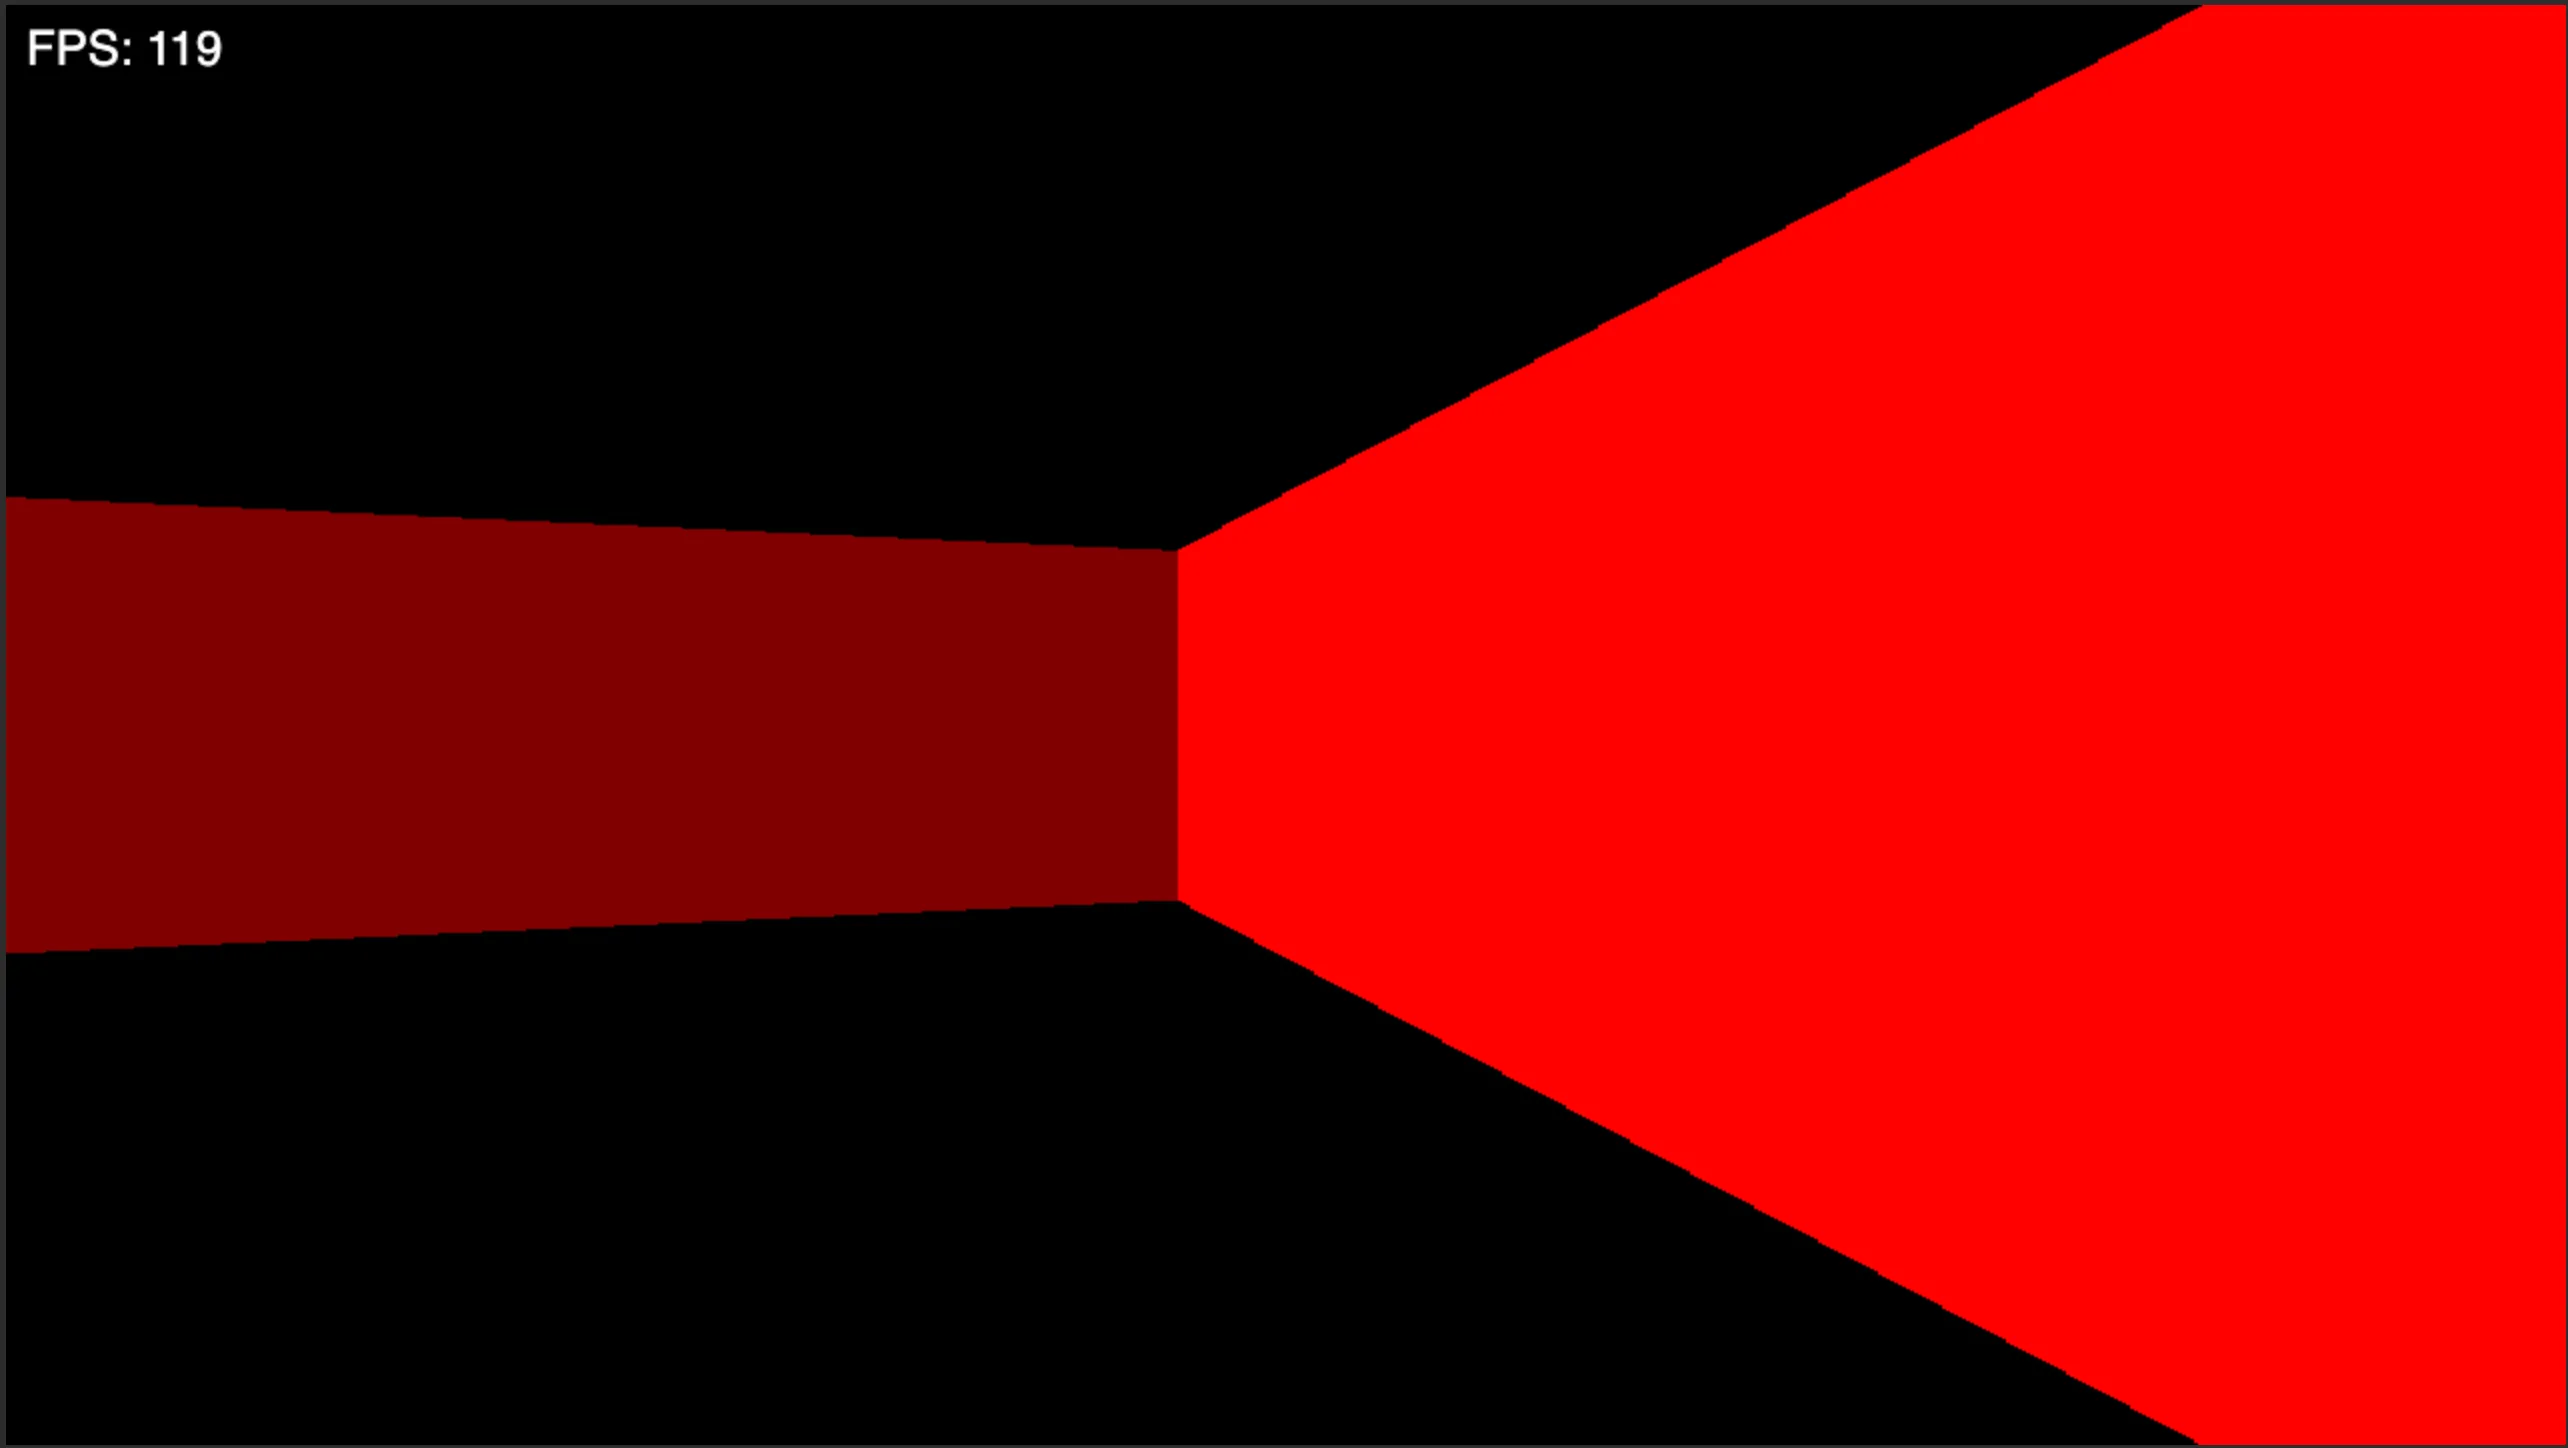
What we will be doing, is adding a bit of variance to the wall textures. We want to darken the color of the horizontal (or vertical) walls, so that we get something like this.
Knowing from which direction the ray hit the wall is easy - we just look at the direction of the last step.
First, we’ll update render_walls.
fn render_walls(game: *const Game, camera: Camera) void {
    // Snip...
    while (x < screen.width) : (x += 1) {
        // Snip...
        var hit = false;
        var hit_direction: HitDirection = undefined;

        for (0..100) |_| {
            // Snip ...
            if (step_factor_x < step_factor_y) {
                // Move to the next tile in horizontal direction
                step_factor = step_factor_x;
                tile_step = .{ .x = ray_direction.x, .y = 0.0 };
                hit_direction = .horizontal;

            } else {
                // Move to the next tile in vertical direction
                step_factor = step_factor_y;
                tile_step = .{ .x = 0.0, .y = ray_direction.y };
                hit_direction = .vertical;

            }
            // Snip ...
        }

        // Snip ...
    }
}
Then we can pass this information to draw_wall_column.
fn draw_wall_column(x: usize, hit_direction: HitDirection, distance: f32) void {
    // Snip ...
    var color = Color.new(255, 0, 0);
    if (hit_direction == .horizontal) {
        color.darken(0.5);
    }

    for (start_y..end_y) |y| {
        screen.draw_pixel(x, y, color);
    }
}
Darkening the color is also trivial. We can just multiply each of the components with a factor 1.
pub fn darken(self: *Self, factor: f32) void {
    self.red = @intFromFloat(@as(f32, @floatFromInt(self.red)) * factor);
    self.green = @intFromFloat(@as(f32, @floatFromInt(self.green)) * factor);
    self.blue = @intFromFloat(@as(f32, @floatFromInt(self.blue)) * factor);
}
We can now pat ourselves on the back, because we’ve successfully implemented rendering of (untextured) walls!
Adding Textures
While untextured walls are cool, I can’t deny that textured walls are cooler. In draw_wall_column we currently
draw the whole wall column the same color. To make the wall textured, we have to instead use a color from a texture.
More specifically, we have to use the color of the pixel on the texture that corresponds to and screen position
in draw_wall_column.
Before we go into how we can calculate texture and from screen and , let’s first define texture coordinates. We’ll use , where for texture coordinates. This way we don’t have to deal with texture’s width and height and can leave that to a texture manager2.
Basic idea behind calculating is that is defined by where the ray hit the wall and is just
linearly transformed from draw_wall_column. I tried to visualize that with the following figure.
Horizontal Coordinate
First, let’s look at how can be calculated. As stated before, this is directly related to where the ray hit the wall. In fact, it is or , depending if the wall was hit horizontally or vertically.
Let’s update render_walls to store based on where the ray hits the wall and pass it to draw_wall_column.
fn render_walls(game: *const Game, camera: Camera) void {
    // Snip...
    while (x < screen.width) : (x += 1) {
        // Snip...

        const distance = distance_from_camera(game.player_pos, camera.plane, collision);

        const texture_x = switch (hit_direction) {
            .horizontal => tile_rem.y,
            .vertical => tile_rem.x,
        };

        draw_wall_column(x, texture_x, hit_direction, distance);
    }
}
Vertical Coordinate
Calculating is also relatively simple, but there is an edge case that we have to handle. Let’s first look at the general case.
If the player is not very close to the wall, the whole wall is rendered. In other words, wall_height < screen_height.
In this case is just a linear translation of screen’s to the interval . In the code, this is
const texture_y = (y - start_y) / real_height;However, if the player is very close to the wall, we have to render just part of the texture.
The code snippet above still holds, but we also have to offset the texture_y, otherwise we’ll
be drawing just the top part of the texture.
Add this to draw_wall_column, the final version is
fn draw_wall_column(x: usize, texture_x: f32, hit_direction: HitDirection, distance: f32) void {
// Real height in pixels.
const real_height = screen_height / distance * CAMERA_HEIGHT;
// Height capped to screen height (for very close walls).
const height = @min(@as(usize, @intFromFloat(real_height)), screen.height);
// Add texture offset calculation.
var texture_offset: f32 = 0.0;
if (real_height > screen_height_f32) {
texture_offset = (real_height - screen_height) / real_height / 2.0;
}
const start_y = screen.height / 2 - height / 2;
const end_y = start_y + height;
for (start_y..end_y) |y| {
const texture_y = @as(f32, @floatFromInt(y - start_y)) / real_height + texture_offset;
var color = wall_texture.get_pixel(texture_x, texture_y);
if (hit_direction == .horizontal) {
color.darken(0.5);
}
screen.draw_pixel(x, y, color);
}
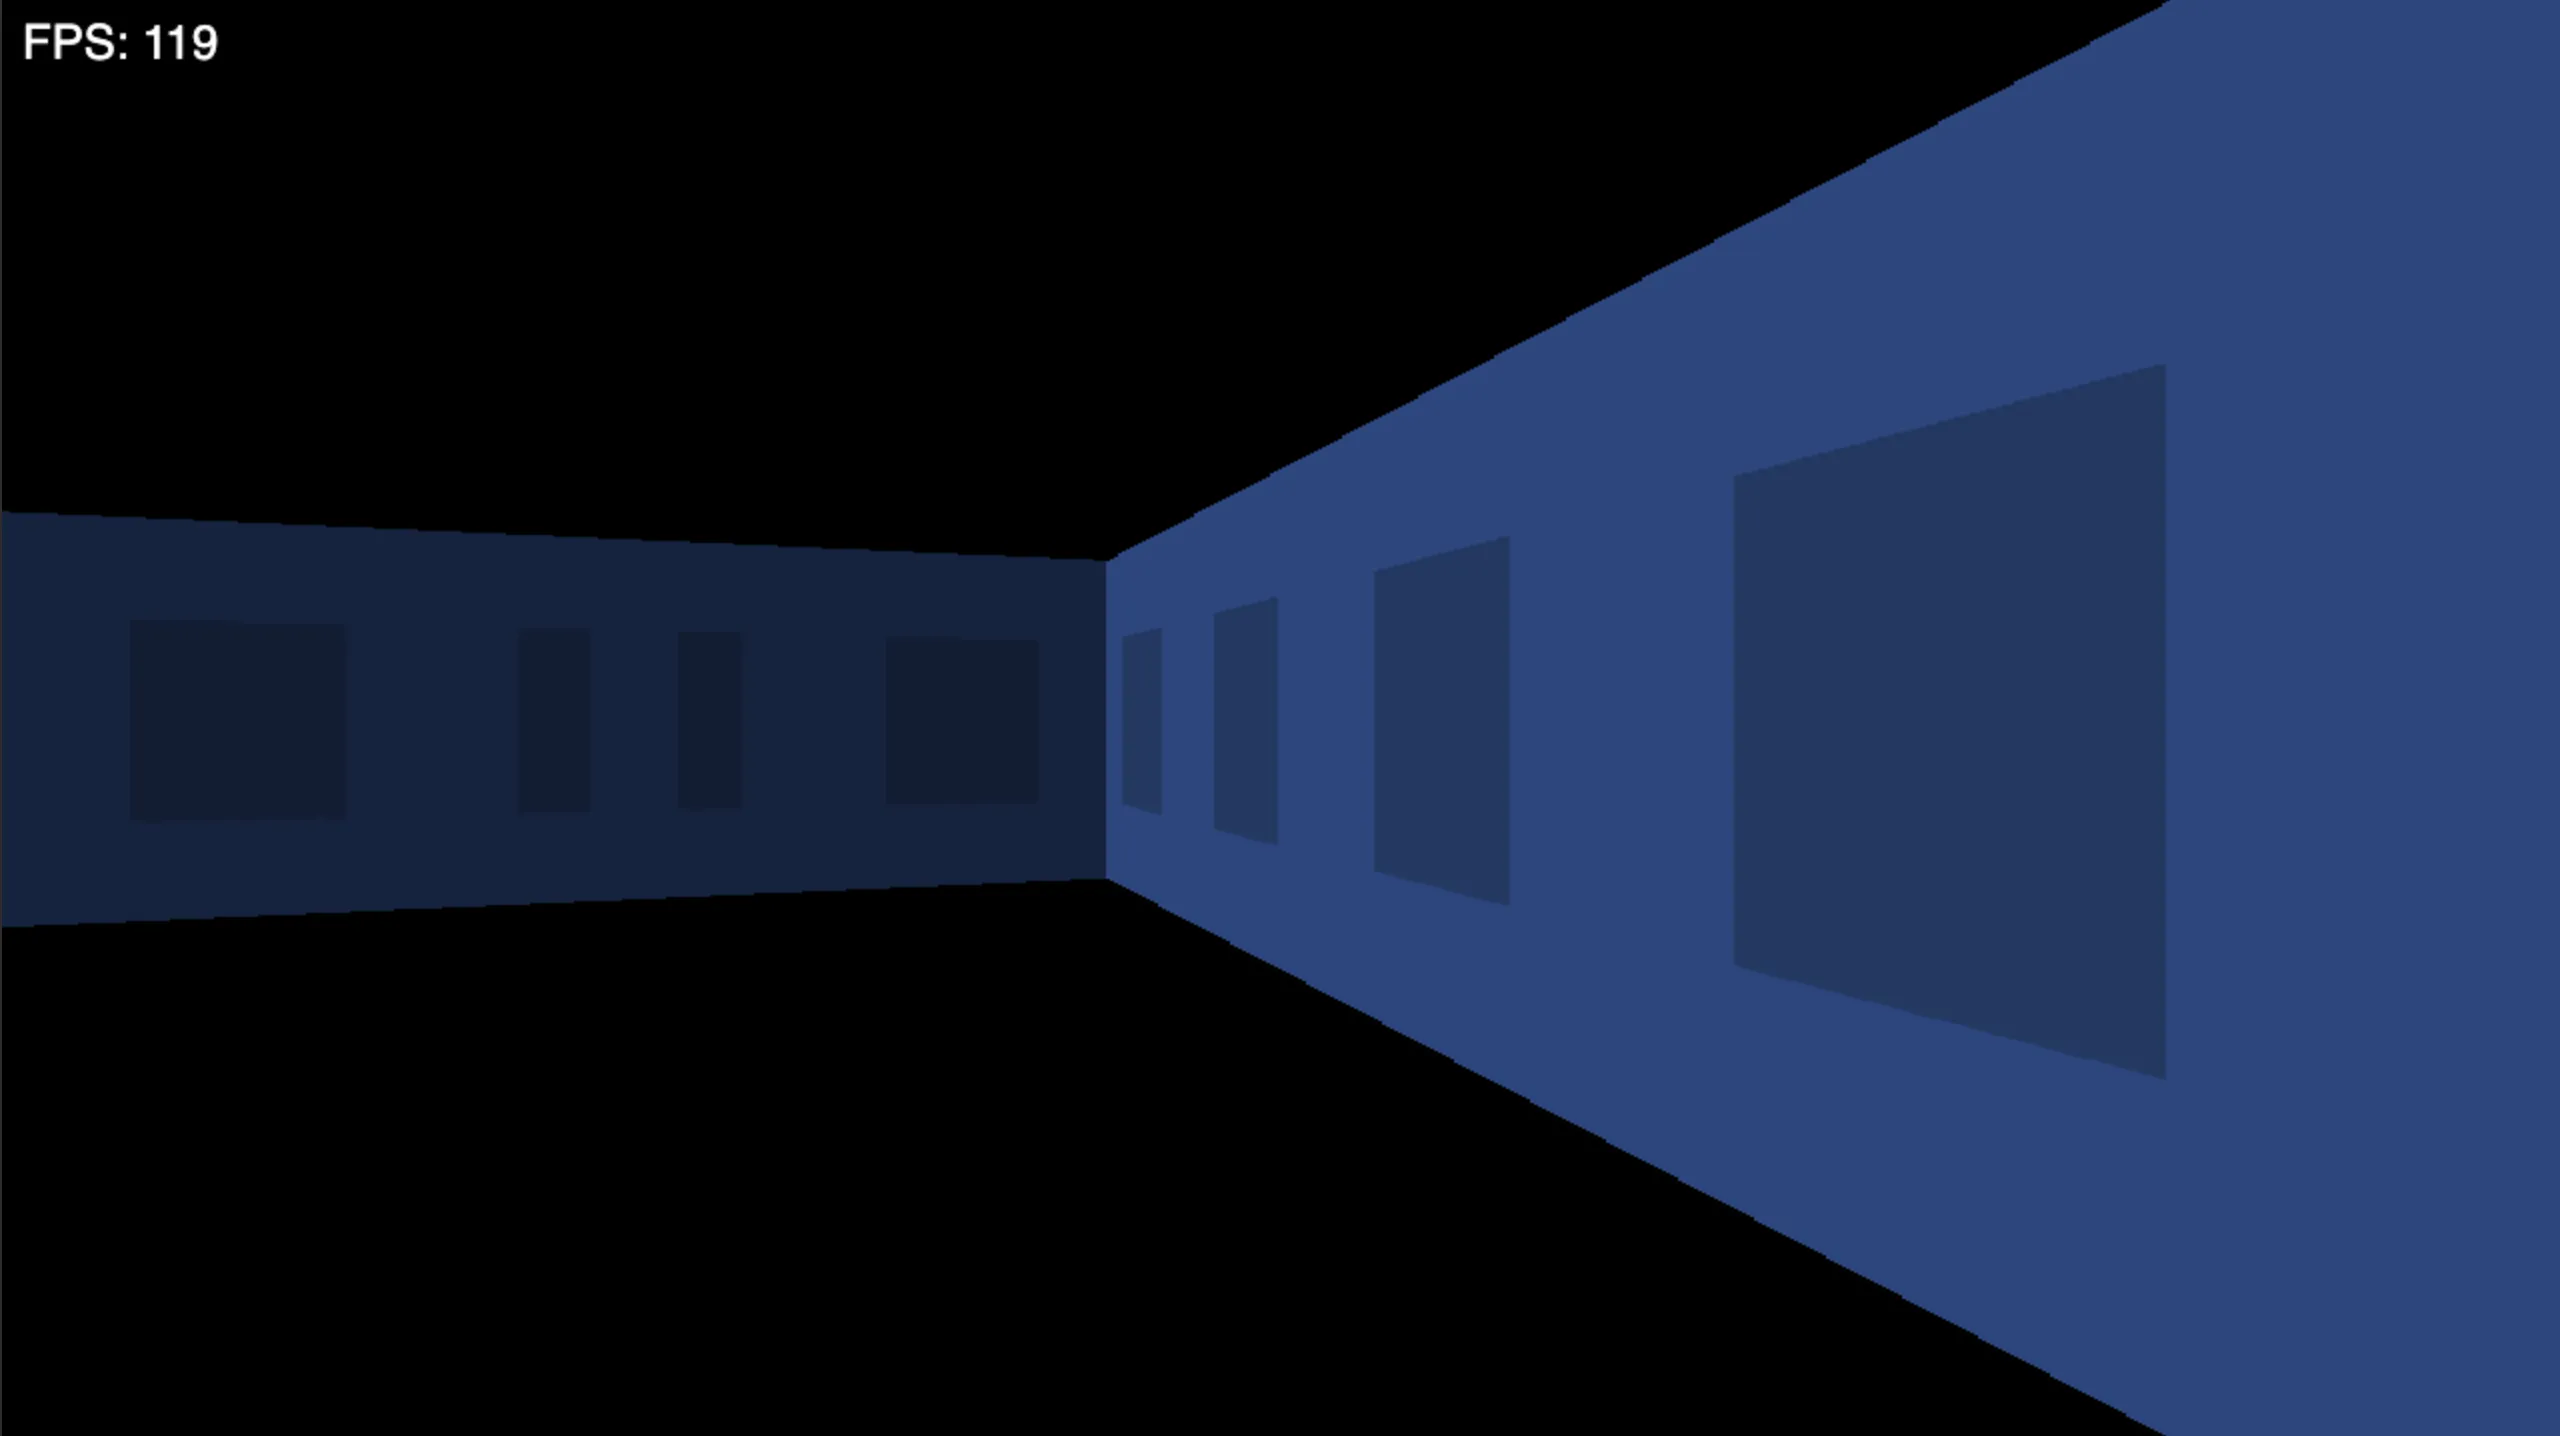
}After all of this work we have arrived at the final result, which looks like this3.
Conclusion
We’ve successfully implemented the wall rendering part of a raycasting engine. We’ve derived the math and implemented computing the distance from the player to the wall and rendering of the wall. We’ve also added textures to the walls.
In the next part, we’ll implement rendering of the floor and ceiling. You can also take a look at the final result on my GitHub.
Final Thoughts
This post turned out quite long. It’s also the first tutorial-like writing that I have done. I hope it was clear and at least a little bit interesting.
Footnotes
-
I am already waiting for someone to tell me that actually, this is not the correct way to darken colors by some very advanced definition of darkening. But it’s more than good enough for what we’re trying to do. ↩
-
Implementing a texture manager is an exercise for the reader. ↩
-
If the textures look ugly, it’s because I drew them myself. Obviously I am not very good at drawing :) ↩